Switching your video editing projects between different NLE software always has been a tedious and error-prone task. With the recent surge in use by production studios of DaVinci Resolve, transferring sequences between other NLEs, especially Premiere Pro, and Resolve will arise more and more.
The idea is to try to take the best out of two video editing software. Premiere Pro video editing workflow has a lot of benefits and Resolve in-depth color grading tools are amongst the best on the market today. Also, different teams or professional often work with their favorite tools and are not always ready to switch.
In this article we'll explain to you how to move sequence and media between Premiere Pro and Resolve both ways, common pitfalls to avoid, as well the limitations current solutions have. If you need more complex features that are not covered in this article, please contact us and tell us your story !
Premiere to Resolve
The most common workflow from Adobe Premiere Pro to Resolve is to use the FCP .XML file format (legacy Final Cut Pro). This linear timeline file format is supported by both software and includes more features than other common file formats such as EDL and AAF. Let's see how it works :
Prepare your timeline
Disclaimer : the simpler is the better. To avoid any conversion issue between the two software, we first need to strip our timeline of all complex features. First, let's start by duplicating the timeline you want to transfer. That way, you will not lose the current state of your work even if an error occurs in the process. Then, you will try to make your duplicated timeline as simple as possible, that includes :
- Removing all effects and transition from your sequence. Some effects and transitions may be supported using FCPXML transfer, but this is not always the case. As a general advice, it is better to remove such features
- Reducing the number of audio and video tracks in your timeline. Whenever possible, reducing the number of track down to one is a good practice to avoid issues, even if officially it supports multiple tracks

Export a Reference video (general and optional advice) !
A common practice when doing such roundtrips is to export a reference video from your original Premiere Pro timeline. This reference video is an export of your Premiere Pro timeline displaying a timecode on top of it. This would serve as a comparison basis with your video in Resolve, and is even more useful when dealing with mixed framerates videos.
To do so, add an adjustment layer on top of your tracks, and apply a Timecode
video effect to it. Adjust the timecode format to match your sequence settings
and export the video using Premiere or Media Encoder.
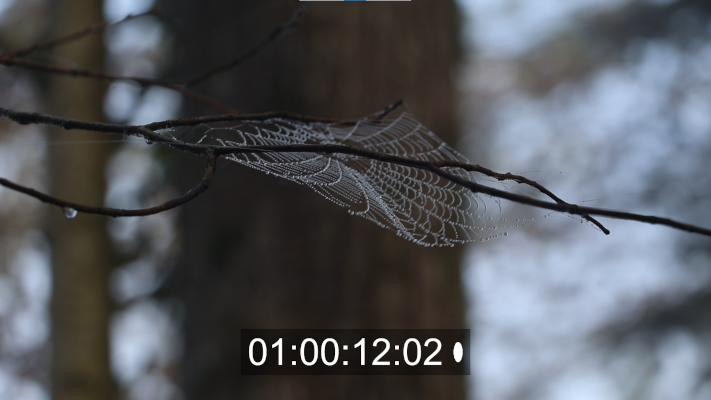
Then the next person importing the project into the other NLE will be able to compare what got transferred with the reference video and will be able to detect errors
Export to FCPXML and import to Resolve
When your timeline is finally ready to be exported, go to
File > Export > Final Cut Pro XML in Premiere Pro menu. Pick a location to
save the file and hit OK. Premiere Pro will then open a dialog telling you to
check the translation report. You can open it to check if any issue arose in the
process and fix them if necessary.
You can now open DaVinci Resolve, and go to File > Import > Timeline, select
the file you just exported with Premiere and open it. Resolve will then open a
window where you can adjust some settings, but usually you don't need to adjust
anything, just click OK. Resolve may also display some errors if you did not fix
some errors of the Premiere export, or if some elements are missing. You can
choose to ignore them if they do not prevent you from achieving your goal in
Resolve (i.e. color grading your clips in most cases). You may also notice that
some clips are out of sync with the audio as this is a common issue. According
to your needs, you may or may not manually fix those issues.
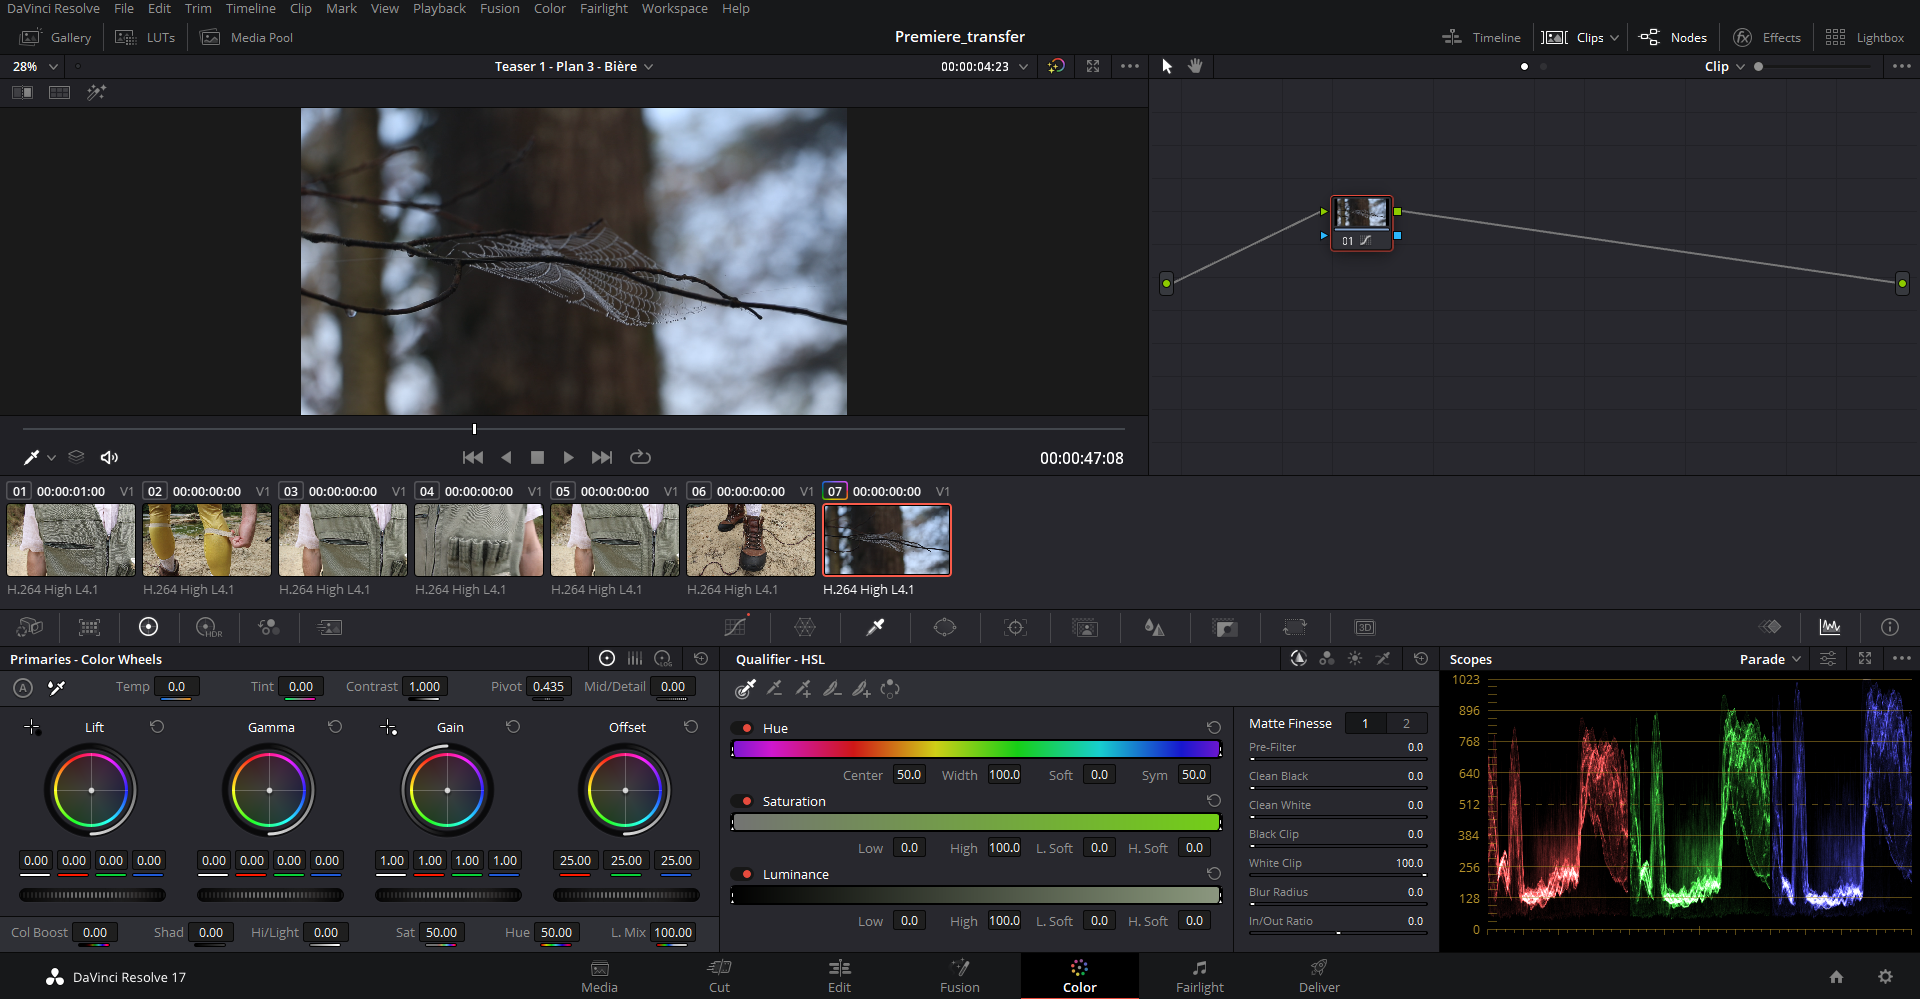
You can now benefit from all Resolve capabilities for your timeline, including color grading, visual effects with fusion and audio processing with Fairlight. If you generated a reference video in the previous steps, you can import it in your project, place it above in a new video track and use that to check that the imported timeline visually matches the reference.
Resolve to Premiere
Export from Resolve
When your work in Resolve is done and you want to come back to Premiere, there
are two possible solutions. You can either export the Resolve timeline as a
single video or as individual clips. Even if the first solution is simpler, the
second one is most flexible for most scenarios. Furthermore, Resolve features a
Premiere XML delivery option that exports back a FCPXML file along with
individual exported clips. To do so, go to the Deliver tab and pick
Premiere XML in the top menu. Pick a location for the new XML file and clips.
You can then edit Resolve video and audio export settings according to your
needs. When you are finished, click the Add to render queue button. Resolve
will then export the clips and corresponding XML file in the folder you
specified.
Import into Premiere
In Premiere click on File > Import and select the XML file you just exported
with Resolve. Premiere will then create a new timeline with the clips exported
by Resolve. You should check that the clips in Premiere look as they did in
Resolve. Sometimes Premiere may add some unwanted features such as adding LUTs
on the clips. You can now apply back all the effects and transitions you
stripped away when preparing the timeline, and export your final video.
Common issues and limitations in NLE Roundtrips
Here is a short list of common known issues you might experience when doing a roundtrip process between Premiere and Resolve :
- Mixed framerates sequence may lead to strange results as Resolve and Premiere have different ways of interpreting footage
- Subtle timecode issues may lead to shift issues or media impossible to be opened back into Resolve, we discovered this while working on BRAW Studio with Blackmagic RAW .BRAW footage
- Video and audio effects won't be translated most of the time
- Audio and video may be out of sync
- Time Remapping
- Some transitions are not supported
- Specific elements such as After Effects compositions, or multi-cam clips will cause errors
- Transform attributes might not translate, such as Scaling and Opacity, which may be annoying for picture-in-picture edits for instance
- Often only supports one video track (or buggy with multiple tracks) and limited options in audio tracks
Conclusion
As you can see, even if this workflow can do well in most cases, it still requires a lot of manual interaction. This may lead to a significant amount of wasted time if deployed on a large scale and reduce the benefits of adopting such a workflow. Furthermore, as the set of supported features supported by the FCPXML file format is limited, errors and crashes may arise resulting in even more wasted time.
Premiere Pro and DaVinci Resolve both are wonderful NLE and will probably fight for video production market dominance in the years to come. If no reliable software transfer solution arise, switching from one solution to another will stay complicated, preventing some studios to make the most out of each software specific features.
What's next ? Need more features ?
Thanks for reading this article ! Do you or your team use this kind of workflow in your production process ? Do you think this process may be improved ? If like us you hate to see creators losing time on tedious tasks, or have some needs/ideas about this topic, you can contact us by email from here and please fill our Google Form poll to tell us about your needs.
